使用AI辅助理解求职当下Java项目
# 使用AI辅助理解求职当下Java项目
# 1.请用Java语言编写可以用来找工作的项目
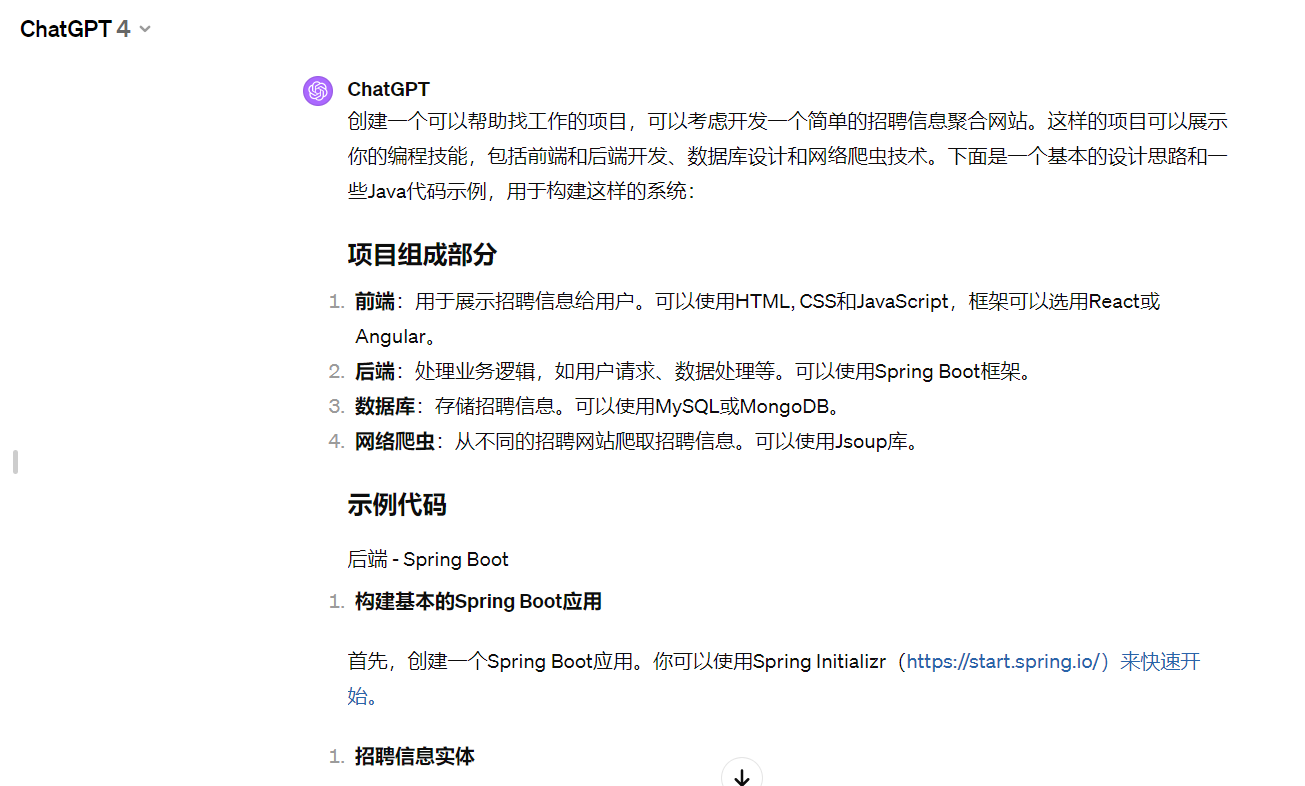
1.1招聘信息实体
import javax.persistence.Entity;
import javax.persistence.GeneratedValue;
import javax.persistence.GenerationType;
import javax.persistence.Id;

@Entity
public class JobListing {
    @Id
    @GeneratedValue(strategy = GenerationType.AUTO)
    private Long id;
    private String title;
    private String company;
    private String location;
    private String description;

    // 构造函数、getter和setter
}
招聘信息仓库
import org.springframework.data.repository.CrudRepository;

public interface JobListingRepository extends CrudRepository<JobListing, Long> {
}
招聘信息控制器
import org.springframework.beans.factory.annotation.Autowired;
import org.springframework.web.bind.annotation.GetMapping;
import org.springframework.web.bind.annotation.RequestMapping;
import org.springframework.web.bind.annotation.RestController;

import java.util.List;

@RestController
@RequestMapping("/api/jobs")
public class JobListingController {

    @Autowired
    private JobListingRepository repository;

    @GetMapping
    public List<JobListing> getAllJobs() {
        return (List<JobListing>) repository.findAll();
    }
}
# 网络爬虫 - Jsoup
import org.jsoup.Jsoup;
import org.jsoup.nodes.Document;
import org.jsoup.nodes.Element;
import org.jsoup.select.Elements;

public class JobScraper {
    public void scrapeJobs() {
        try {
            Document doc = Jsoup.connect("招聘网站的URL").get();
            Elements jobListings = doc.select("招聘信息的CSS选择器");
            for (Element job : jobListings) {
                String title = job.select("标题的CSS选择器").text();
                String company = job.select("公司的CSS选择器").text();
                // 提取其他信息
                // 将信息保存到数据库
            }
        } catch (Exception e) {
            e.printStackTrace();
        }
    }
}

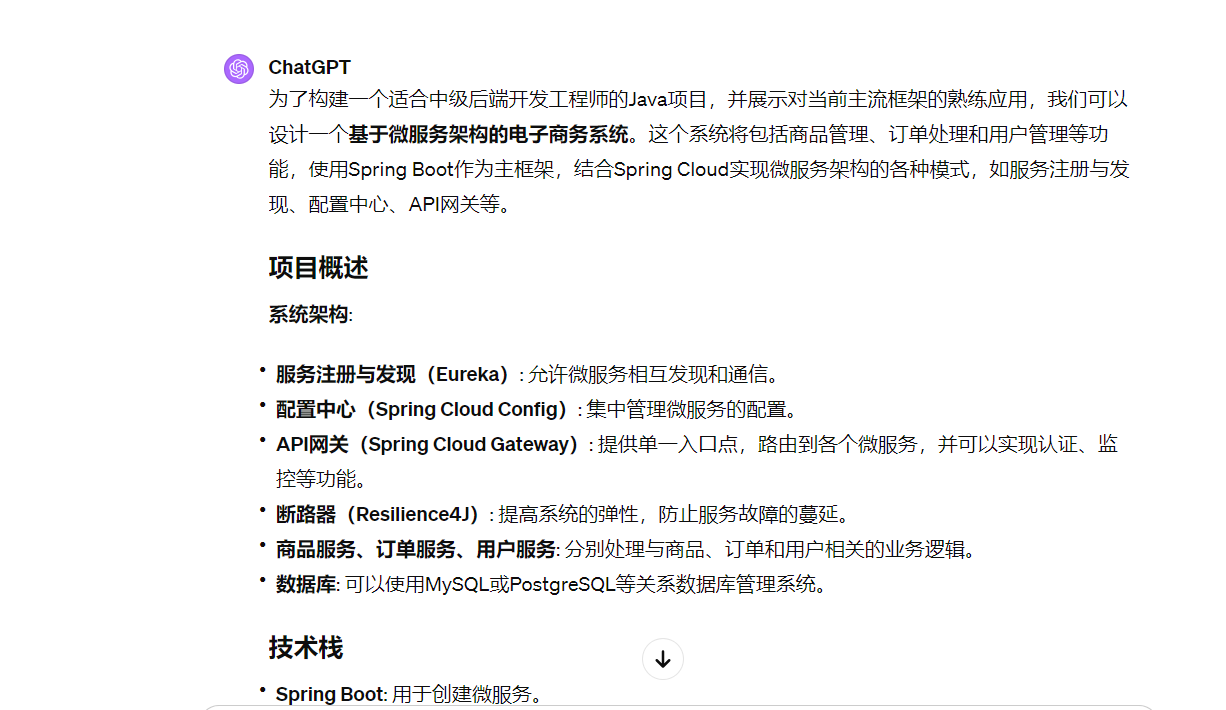
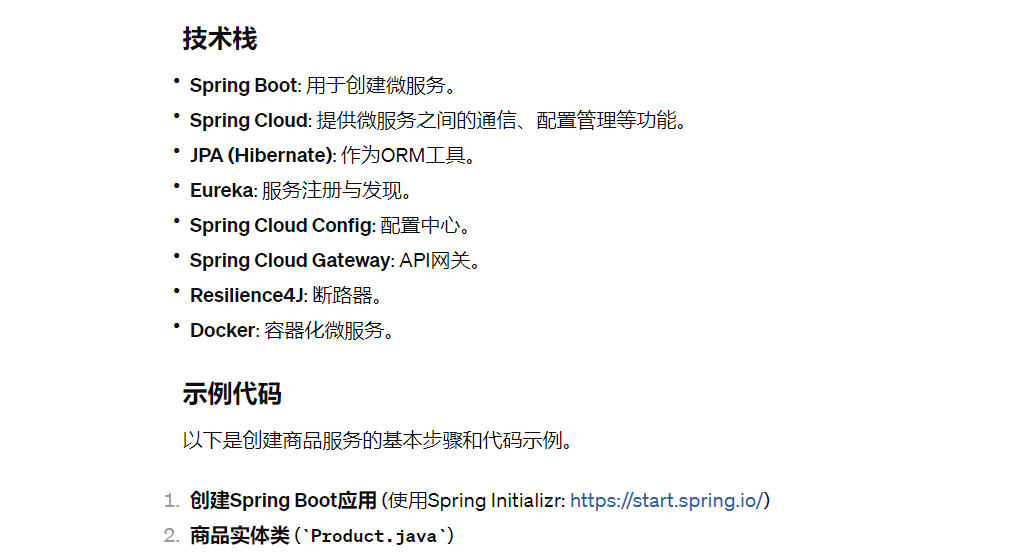
# 2.使用Java语言编写,要求符合当前主流框架,可以用来作为中级后端开发工程师的项目
import javax.persistence.Entity;
import javax.persistence.GeneratedValue;
import javax.persistence.GenerationType;
import javax.persistence.Id;

@Entity
public class Product {
    @Id
    @GeneratedValue(strategy = GenerationType.IDENTITY)
    private Long id;
    private String name;
    private String description;
    private double price;

    // 构造函数、getter和setter省略
}
商品仓库接口 (ProductRepository.java)
import org.springframework.data.jpa.repository.JpaRepository;

public interface ProductRepository extends JpaRepository<Product, Long> {
}
商品服务类 (ProductService.java)
import org.springframework.beans.factory.annotation.Autowired;
import org.springframework.stereotype.Service;

import java.util.List;

@Service
public class ProductService {
    @Autowired
    private ProductRepository repository;

    public List<Product> listAll() {
        return repository.findAll();
    }

    // 其他服务方法,如添加、删除商品等
}
商品控制器 (ProductController.java)
import org.springframework.beans.factory.annotation.Autowired;
import org.springframework.web.bind.annotation.GetMapping;
import org.springframework.web.bind.annotation.RequestMapping;
import.springframework.web.bind.annotation.RestController;

import java.util.List;

@RestController
@RequestMapping("/products")
public class ProductController {
    @Autowired
    private ProductService service;

    @GetMapping
    public List<Product> listAll() {
        return service.listAll();
    }

    // 其他API端点,如添加、删除商品等
}
# 2.想学好背后的技术需要从何入手
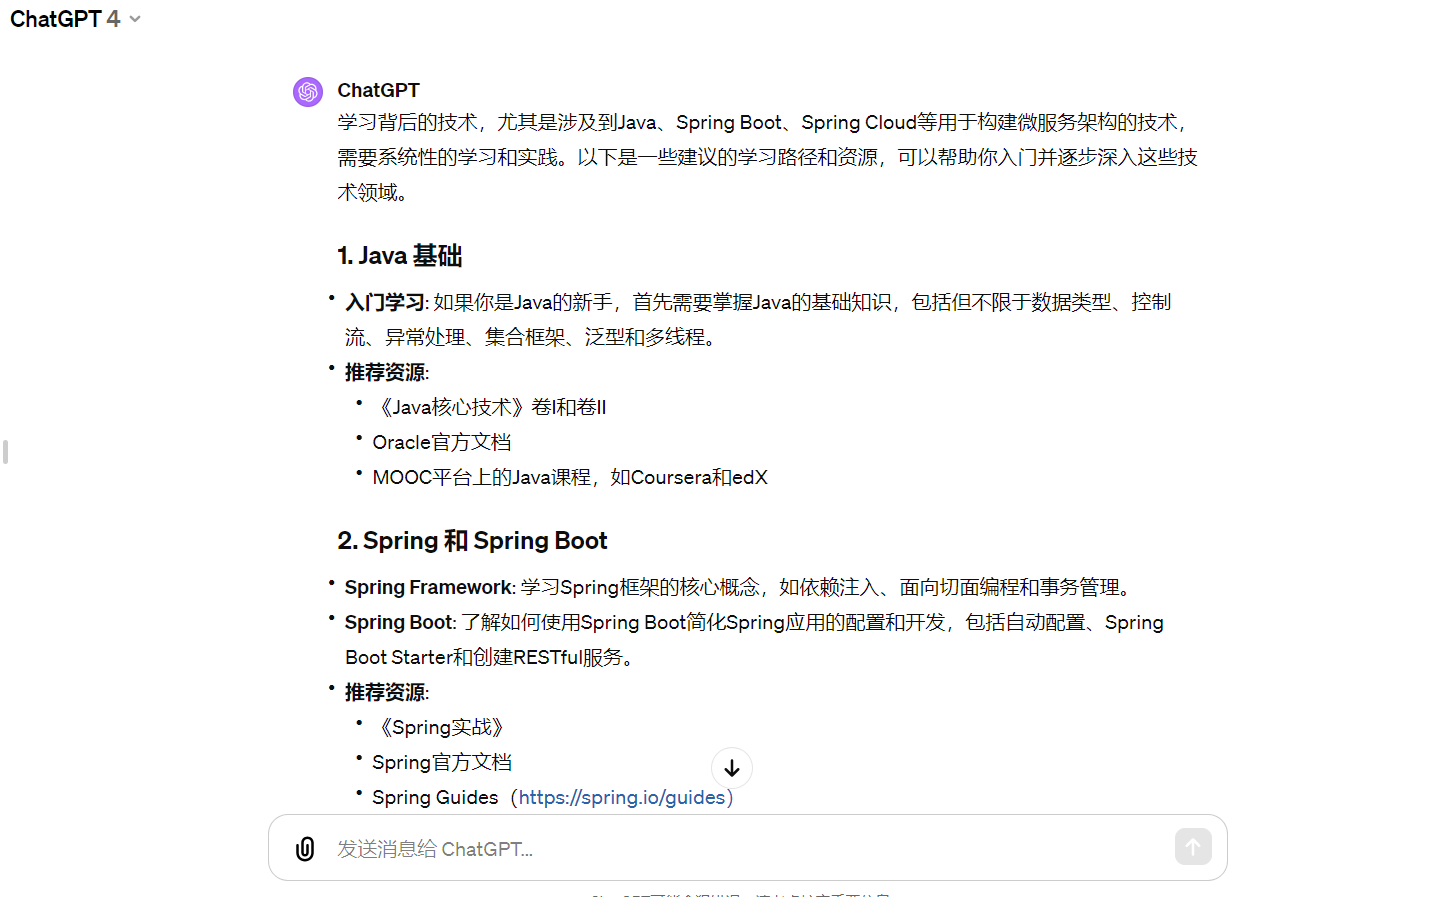
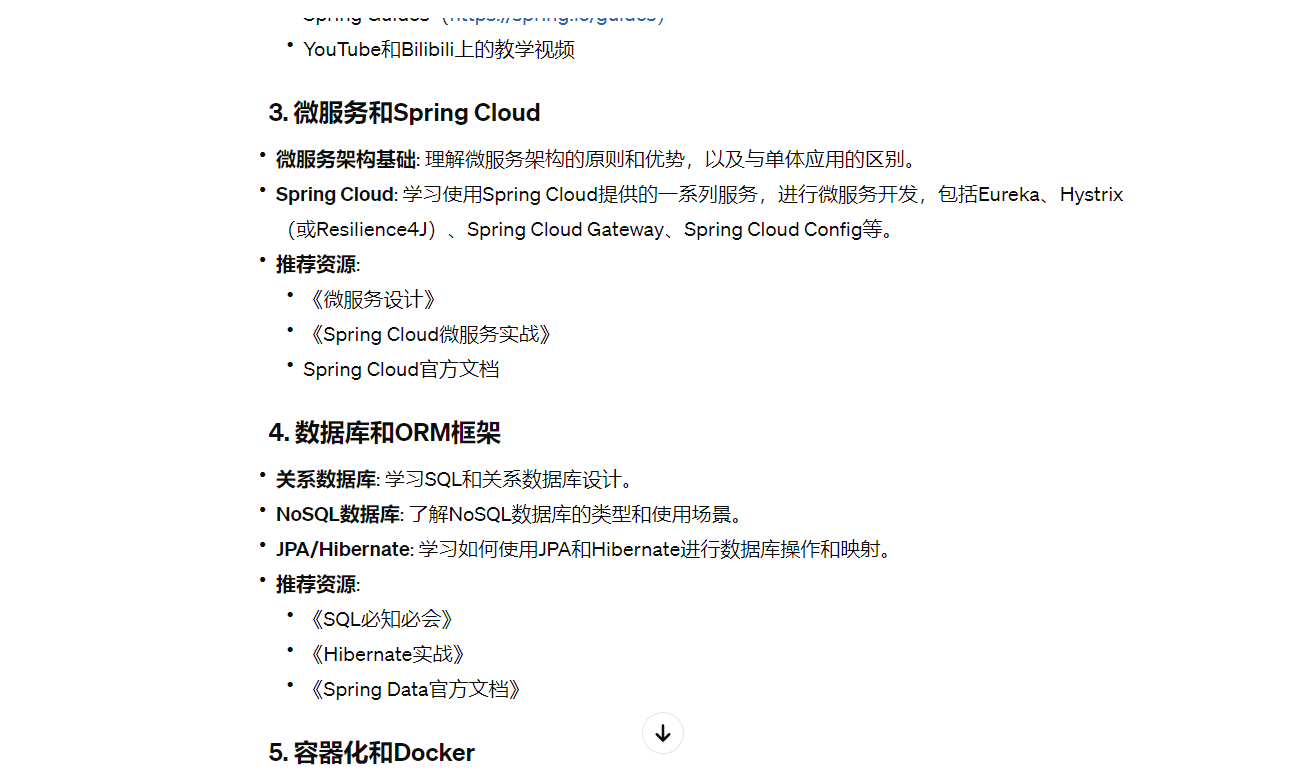
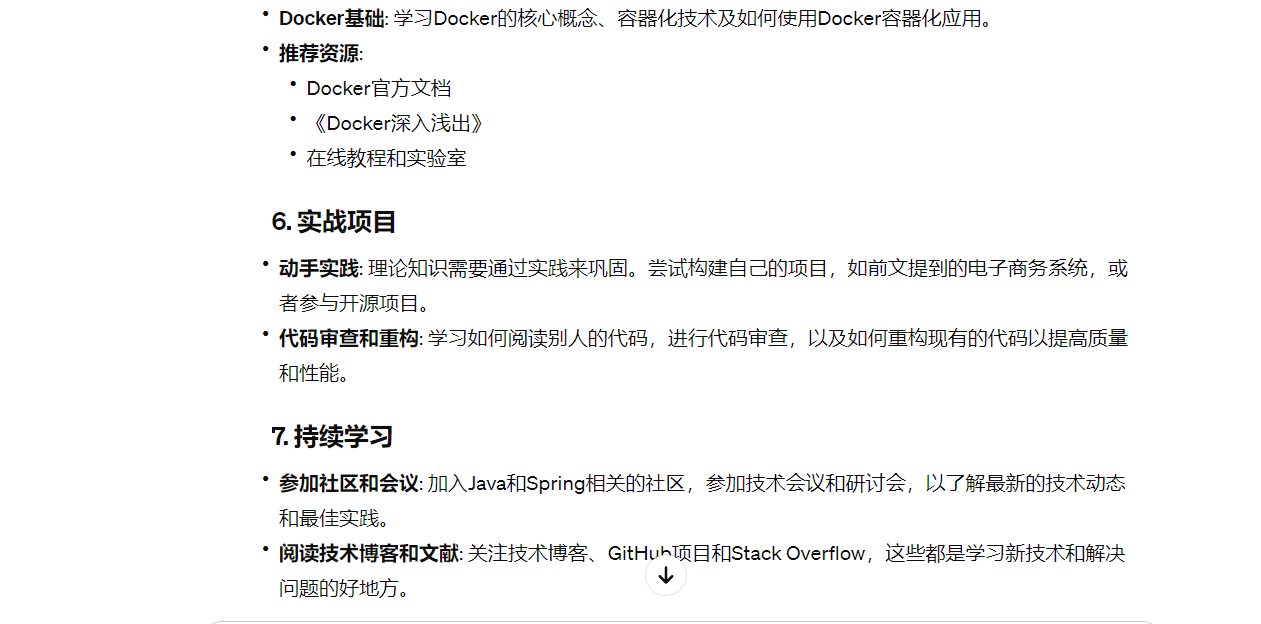

# 3.将这些主流技术拆解成具体的代码案例,用易于让人理解的语言讲解
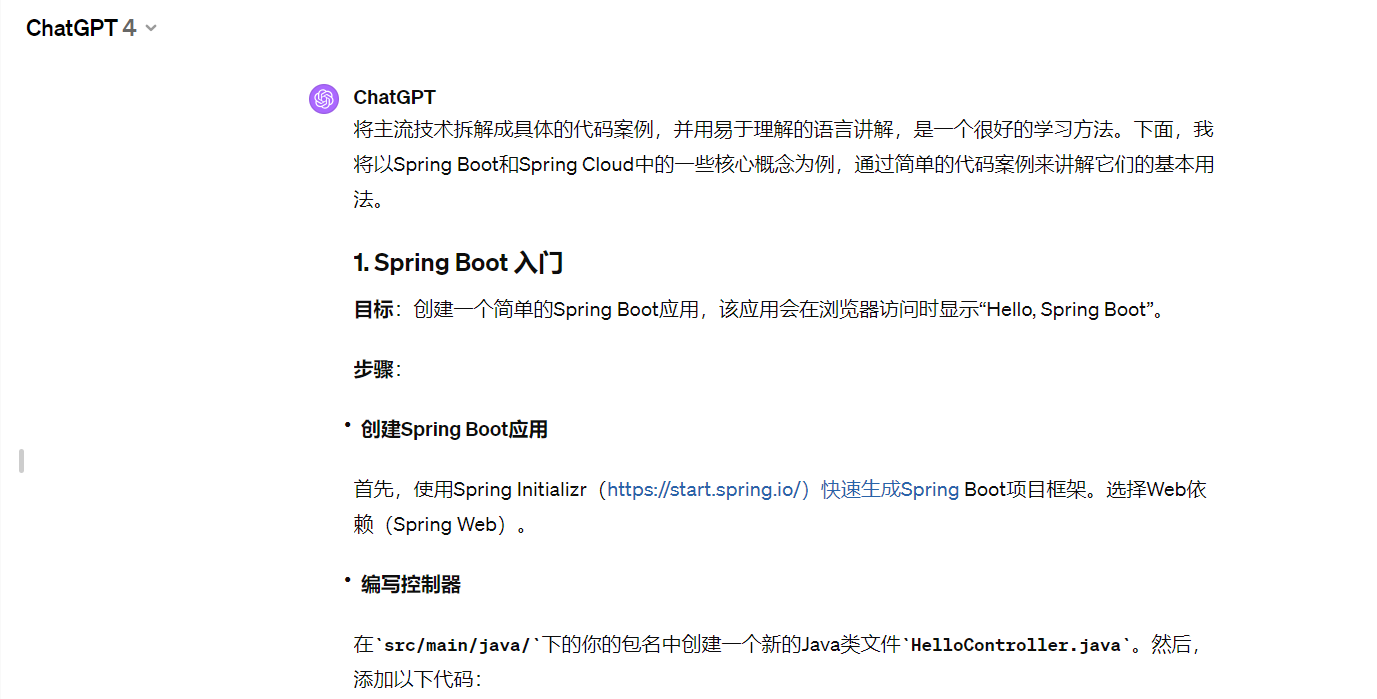
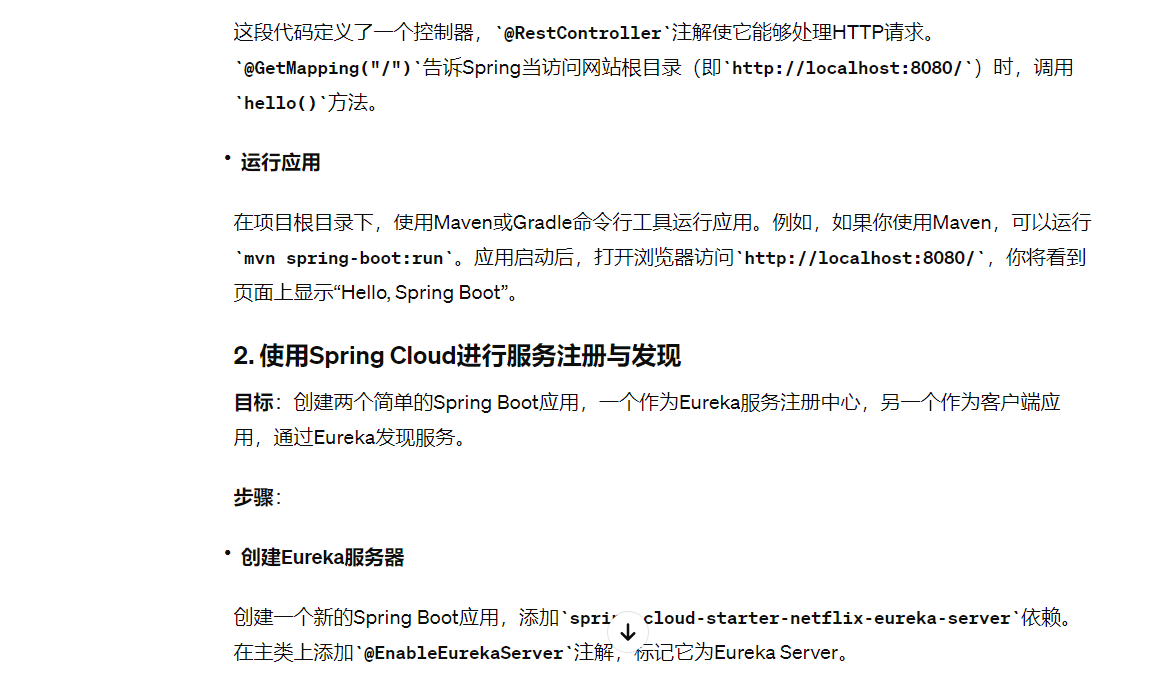
import org.springframework.web.bind.annotation.GetMapping;
import org.springframework.web.bind.annotation.RestController;

@RestController
public class HelloController {

    @GetMapping("/")
    public String hello() {
        return "Hello, Spring Boot";
    }
}
import org.springframework.boot.SpringApplication;
import org.springframework.boot.autoconfigure.SpringBootApplication;
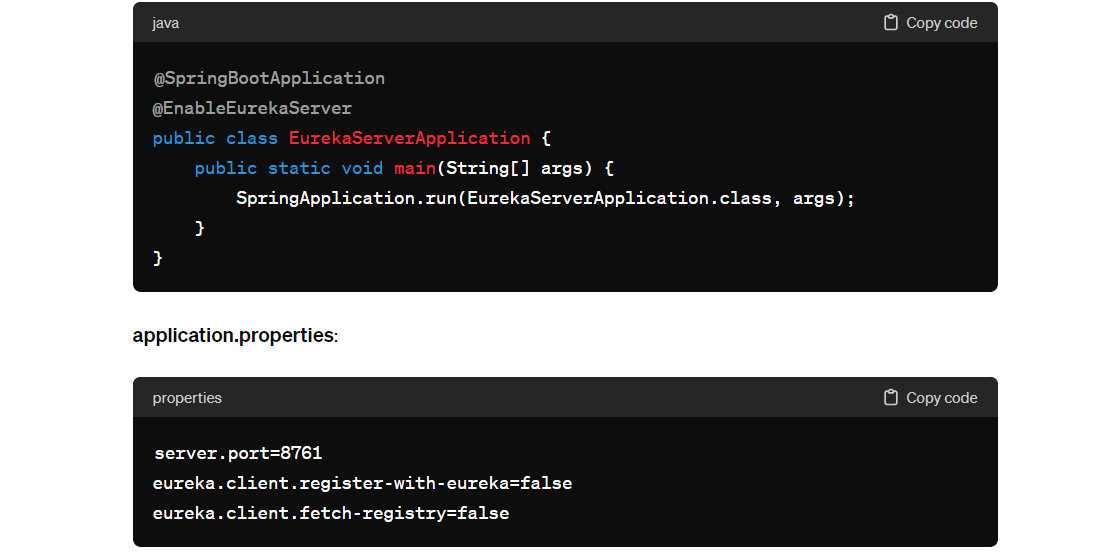
import org.springframework.cloud.netflix.eureka.server.EnableEurekaServer;

@SpringBootApplication
@EnableEurekaServer
public class EurekaServerApplication {

    public static void main(String[] args) {
        SpringApplication.run(EurekaServerApplication.class, args);
    }
}
在application.properties配置文件中,添加Eureka Server的配置。
server.port=8761
eureka.client.register-with-eureka=false
eureka.client.fetch-registry=false
- 创建Eureka客户端
创建另一个Spring Boot应用,添加spring-cloud-starter-netflix-eureka-client依赖。在主类上添加@EnableEurekaClient注解,使其成为Eureka客户端。
import org.springframework.boot.SpringApplication;
import org.springframework.boot.autoconfigure.SpringBootApplication;
import org.springframework.cloud.netflix.eureka.EnableEurekaClient;

@SpringBootApplication
@EnableEurekaClient
public class EurekaClientApplication {

    public static void main(String[] args) {
        SpringApplication.run(EurekaClientApplication.class, args);
    }
}
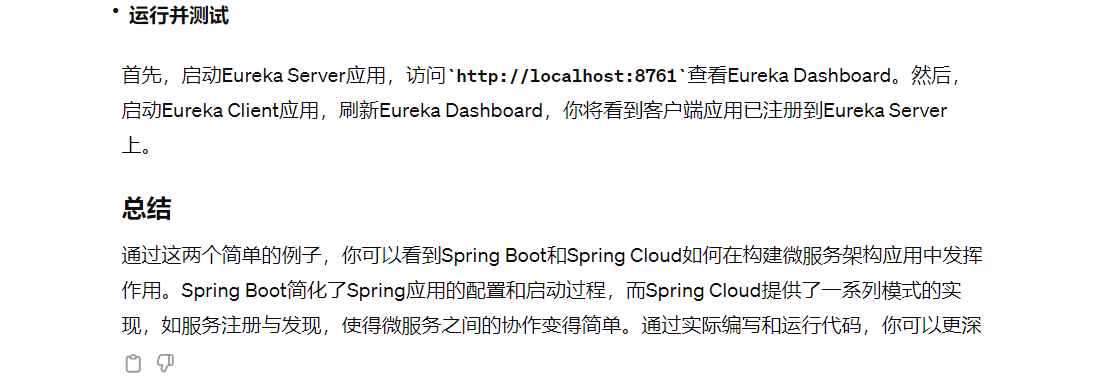
在application.properties配置文件中,添加Eureka Client的配置,指定服务注册中心的地址
eureka.client.service-url.defaultZone=http://localhost:8761/eureka/
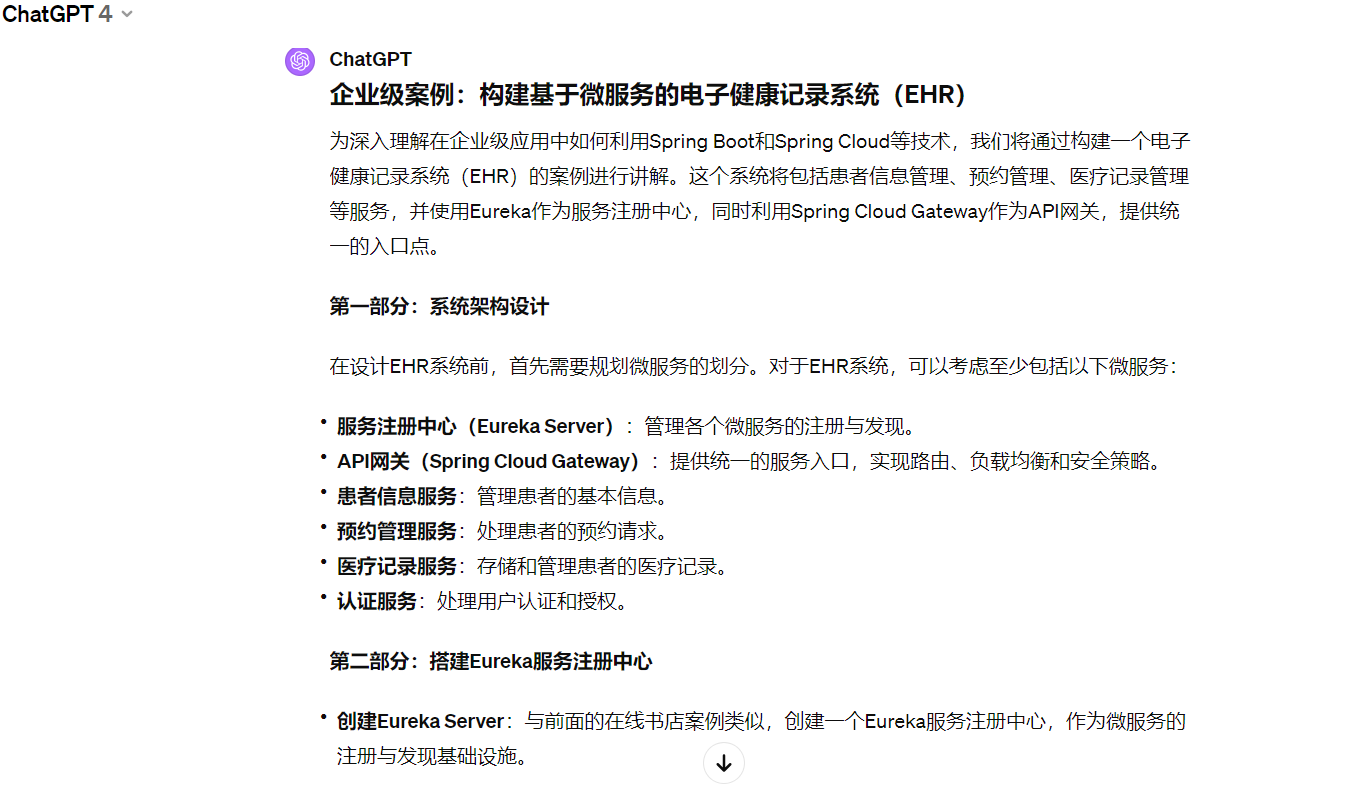
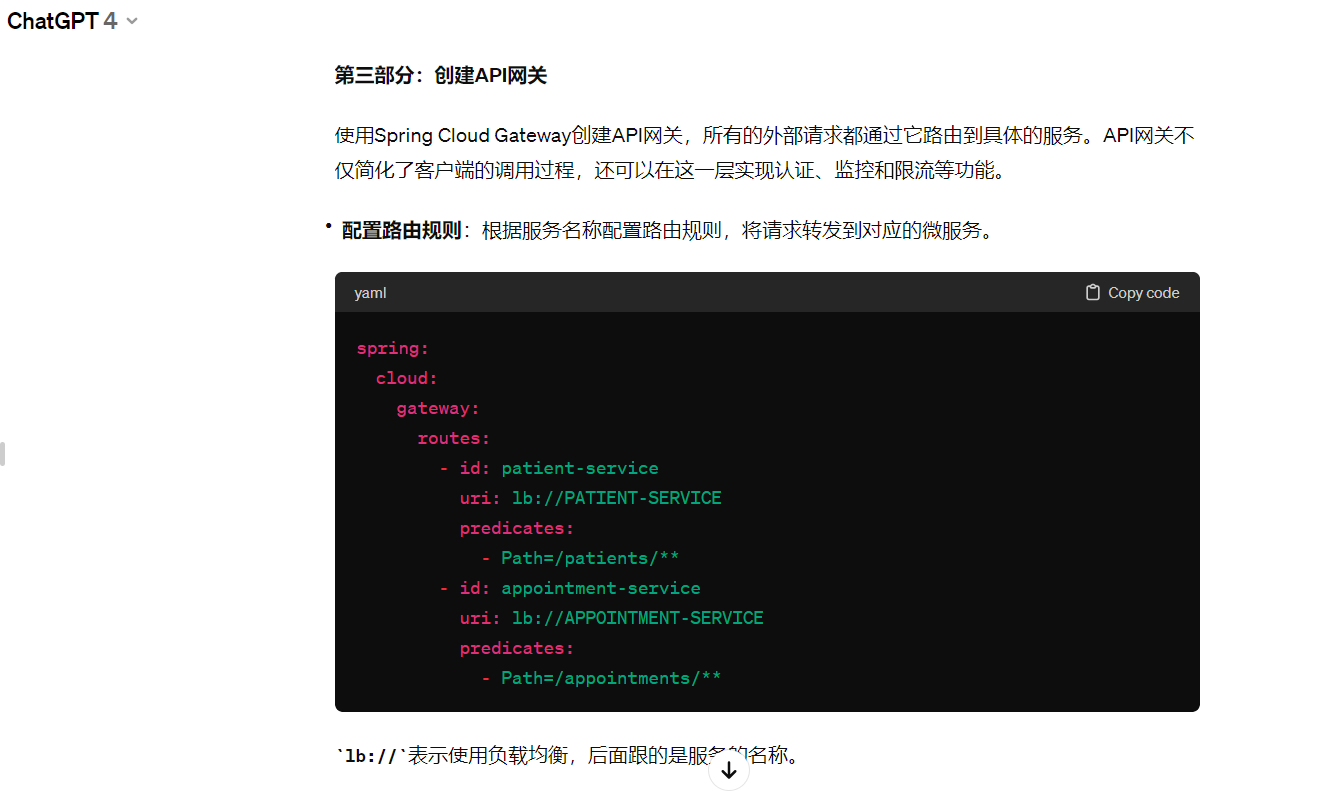
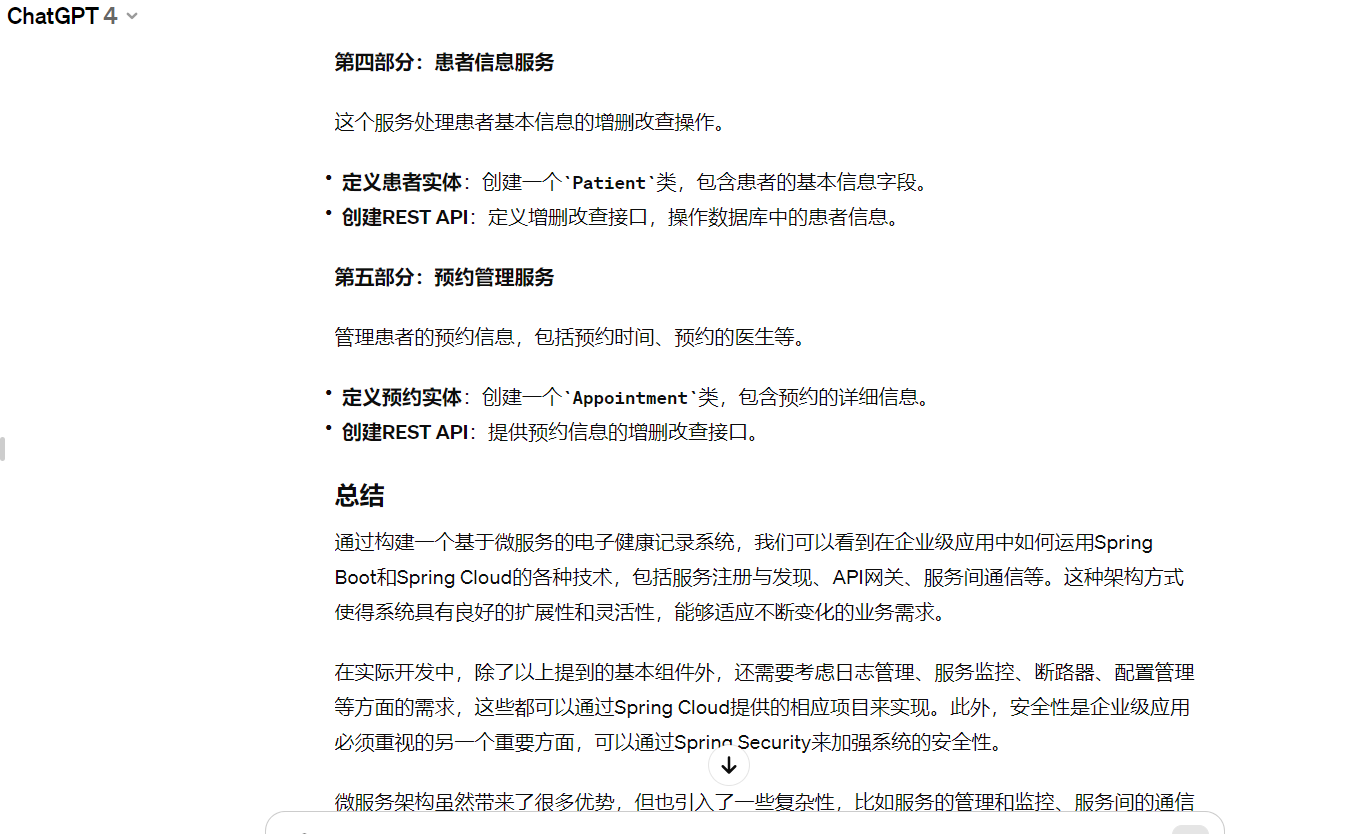
# 4.再结合一个具体的案例讲解,生成文本按照五百字一组回答,直到回答完毕
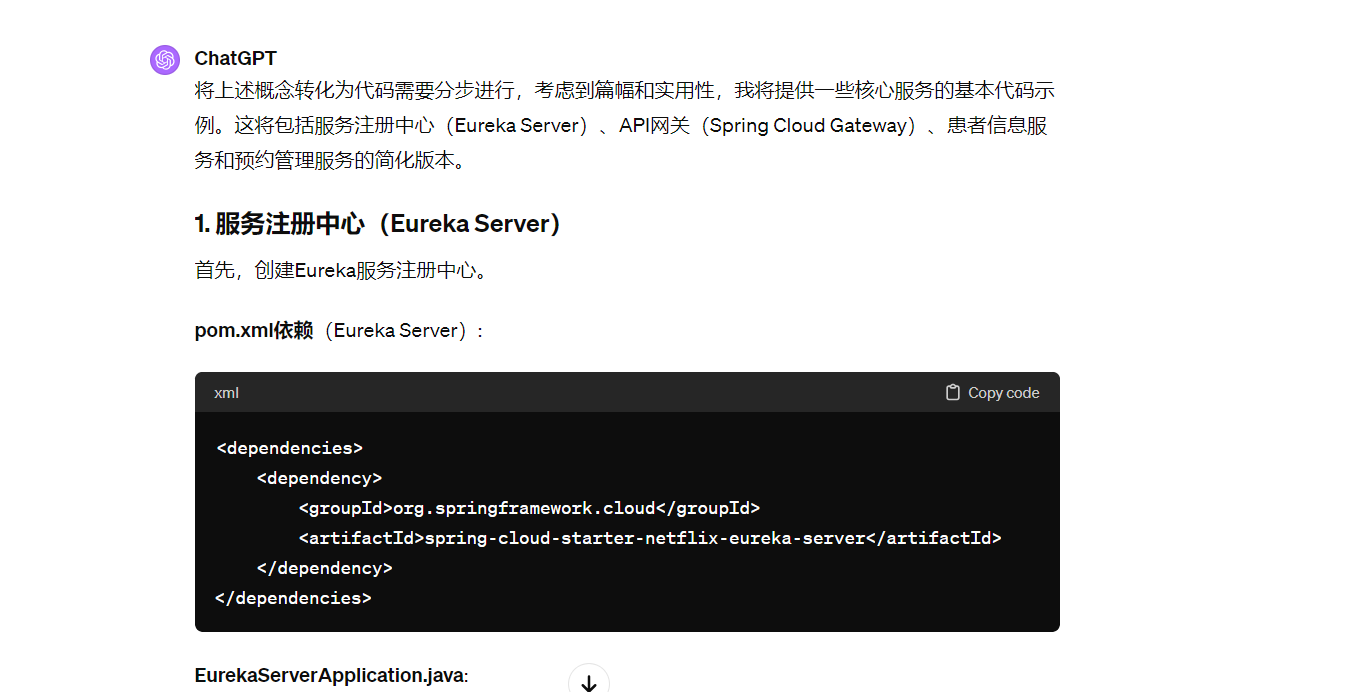
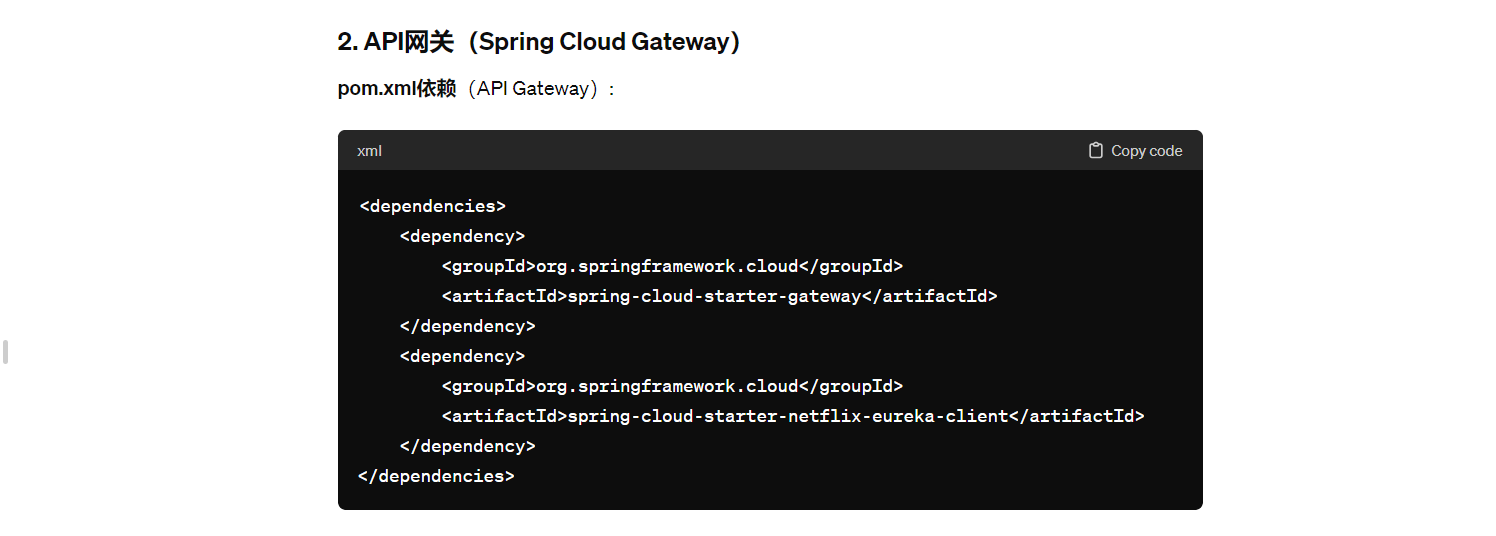
# 5.把以上内容丰富成代码
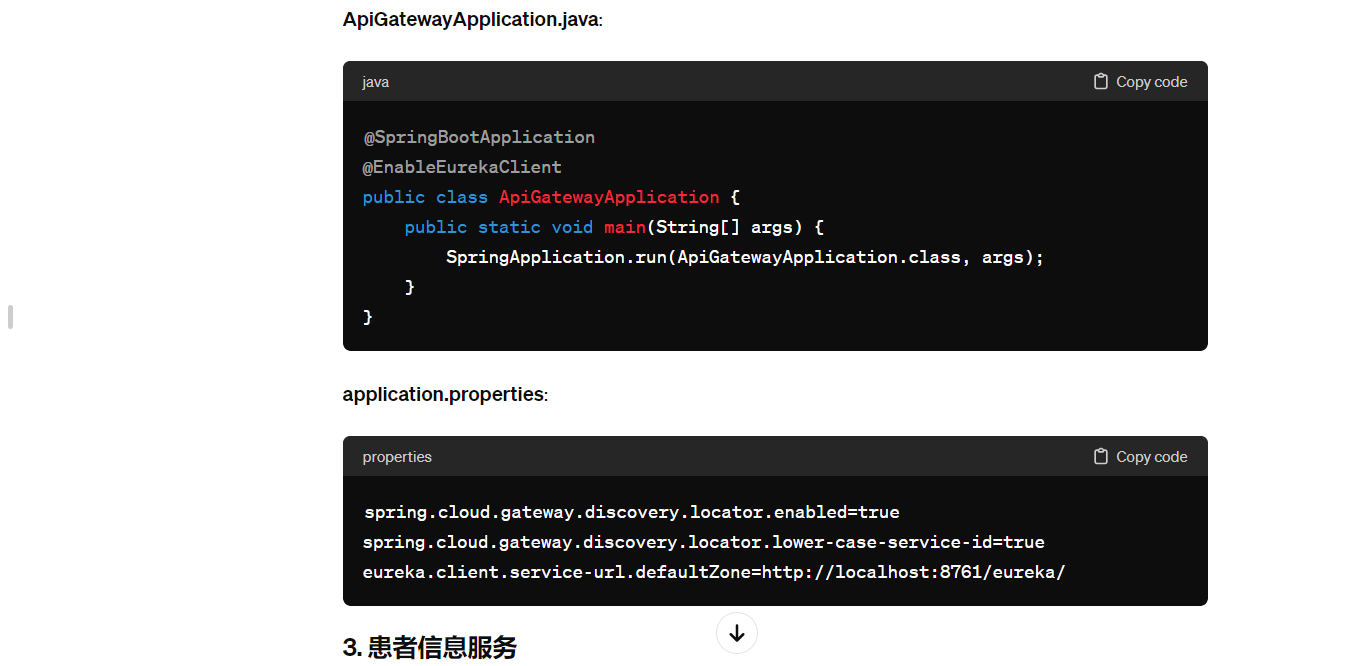
# 3. 患者信息服务
pom.xml依赖(Patient Service):
<dependencies>
    <dependency>
        <groupId>org.springframework.boot</groupId>
        <artifactId>spring-boot-starter-data-jpa</artifactId>
    </dependency>
    <dependency>
        <groupId>org.springframework.boot</groupId>
        <artifactId>spring-boot-starter-web</artifactId>
    </dependency>
    <dependency>
        <groupId>org.springframework.cloud</groupId>
        <artifactId>spring-cloud-starter-netflix-eureka-client</artifactId>
    </dependency>
    <dependency>
        <groupId>com.h2database</groupId>
        <artifactId>h2</artifactId>
        <scope>runtime</scope>
    </dependency>
</dependencies>
Patient.java:
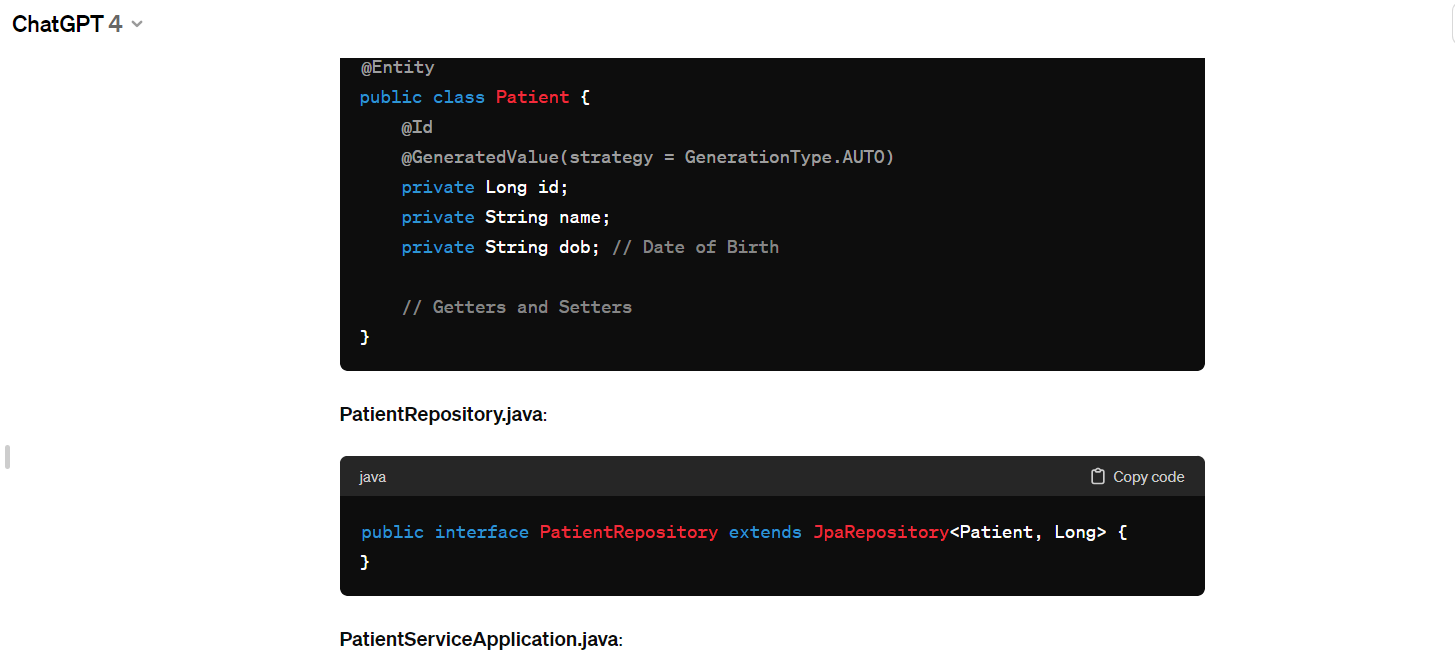
@SpringBootApplication
@EnableEurekaClient
public class PatientServiceApplication {
    public static void main(String[] args) {
        SpringApplication.run(PatientServiceApplication.class, args);
    }
}
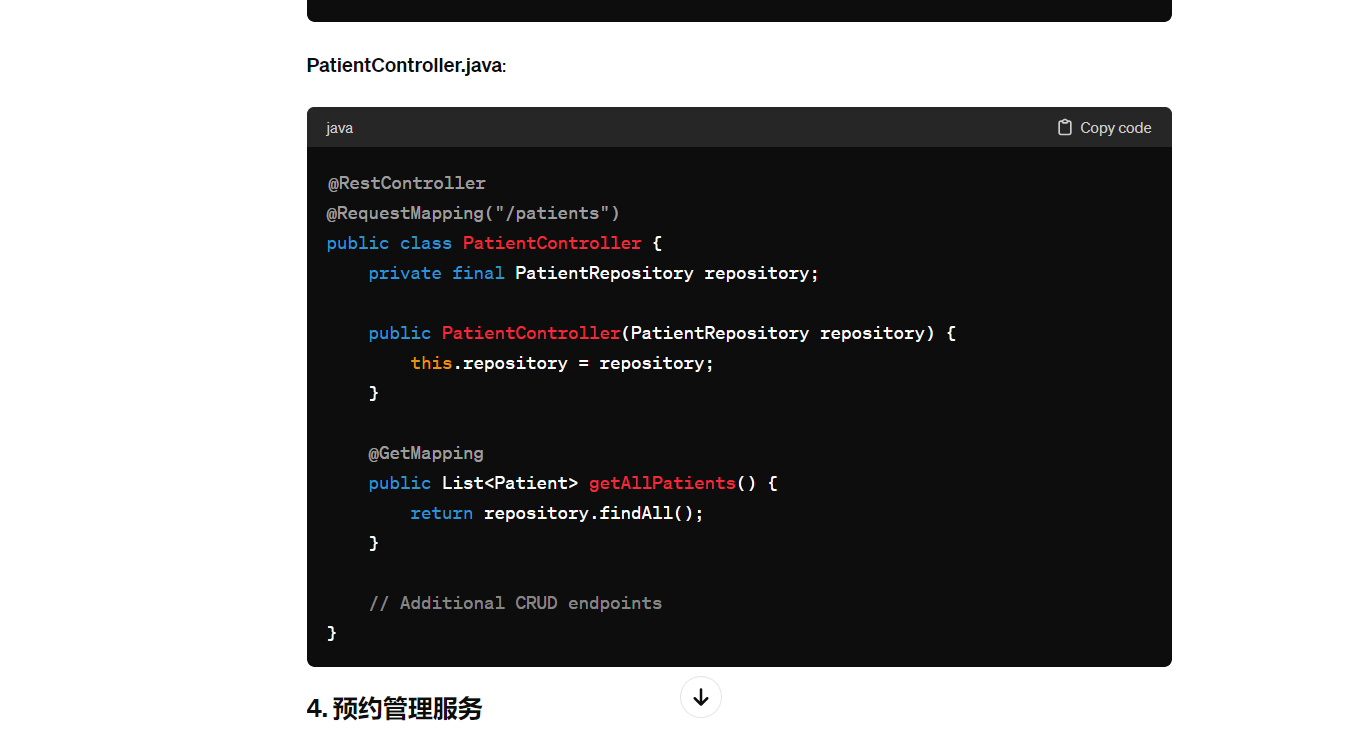

# 6.细展开预约管理服务的代码

<dependencies>
    <dependency>
        <groupId>org.springframework.boot</groupId>
        <artifactId>spring-boot-starter-data-jpa</artifactId>
    </dependency>
    <dependency>
        <groupId>org.springframework.boot</groupId>
        <artifactId>spring-boot-starter-web</artifactId>
    </dependency>
    <dependency>
        <groupId>org.springframework.cloud</groupId>
        <artifactId>spring-cloud-starter-netflix-eureka-client</artifactId>
    </dependency>
    <dependency>
        <groupId>com.h2database</groupId>
        <artifactId>h2</artifactId>
        <scope>runtime</scope>
    </dependency>
    <dependency>
        <groupId>org.springframework.boot</groupId>
        <artifactId>spring-boot-starter-webflux</artifactId>
    </dependency>
</dependencies>
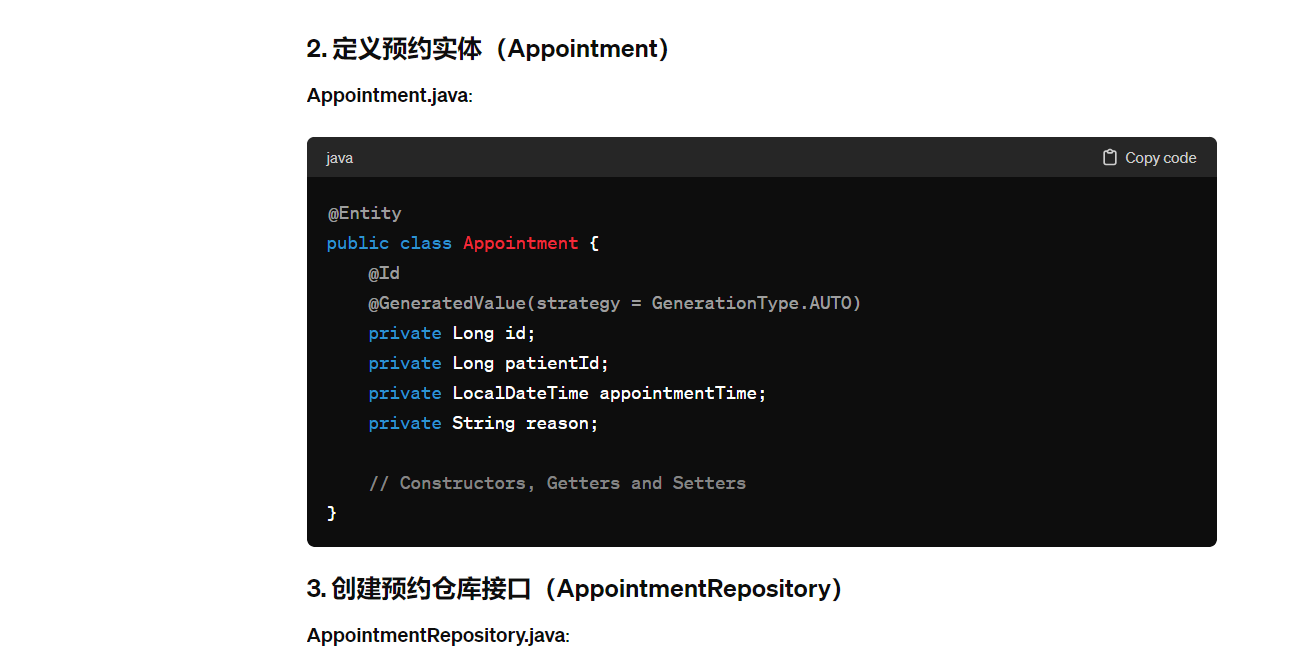
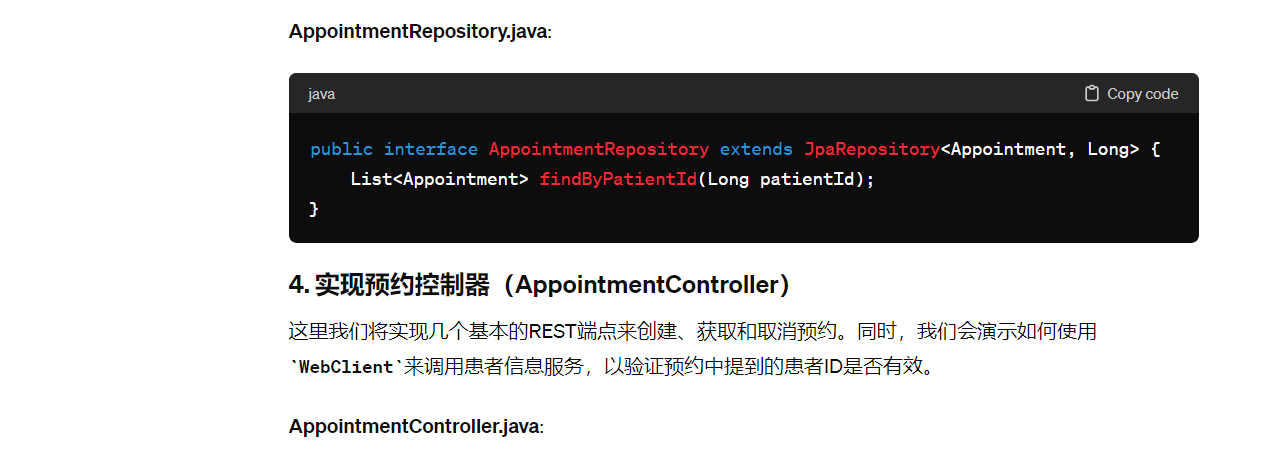
@RestController
@RequestMapping("/appointments")
public class AppointmentController {
    private final AppointmentRepository repository;
    private final WebClient.Builder webClientBuilder;

    public AppointmentController(AppointmentRepository repository, WebClient.Builder webClientBuilder) {
        this.repository = repository;
        this.webClientBuilder = webClientBuilder;
    }

    @GetMapping
    public Flux<Appointment> getAllAppointments() {
        return Flux.fromIterable(repository.findAll());
    }

    @PostMapping
    public Mono<Appointment> createAppointment(@RequestBody Appointment appointment) {
        // 异步调用患者信息服务以验证患者ID
        return webClientBuilder.build().get()
                .uri("http://PATIENT-SERVICE/patients/" + appointment.getPatientId())
                .retrieve()
                .bodyToMono(Patient.class)
                .map(patient -> repository.save(appointment));
    }

    // 示例中的Patient类需要与患者信息服务中的Patient类字段匹配
    private static class Patient {
        private Long id;
        // 其他字段和方法
    }

    // 其他端点如更新和删除预约的实现略
}
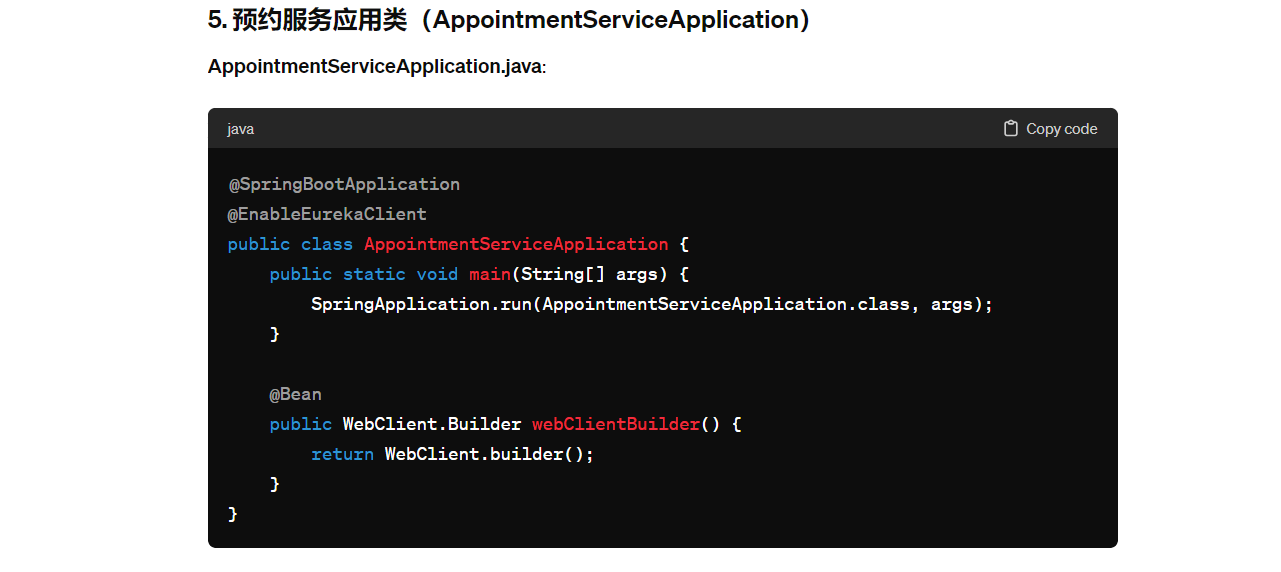

# 7.这个项目可能会存在哪些特殊问题
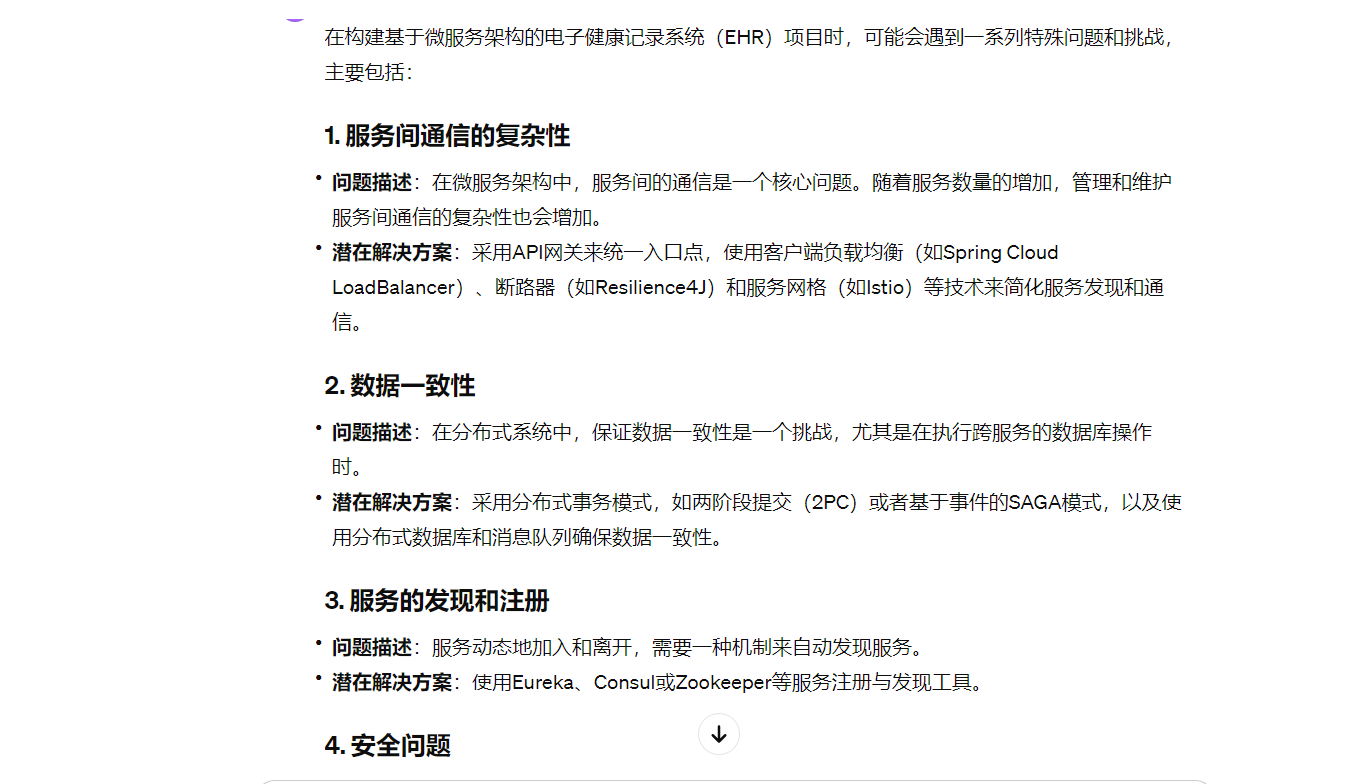
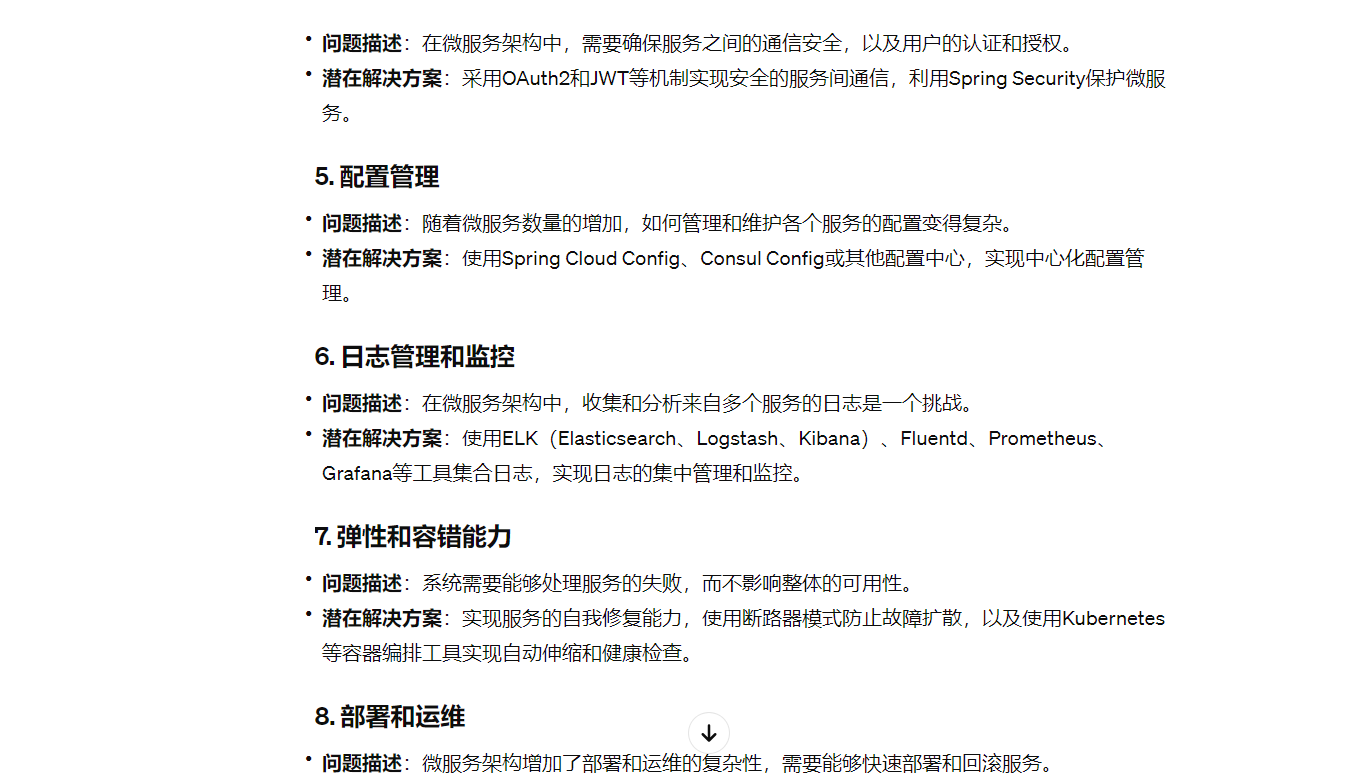

# 8.如果出现问题,保证不影响性能的,同时稳定的解决问题
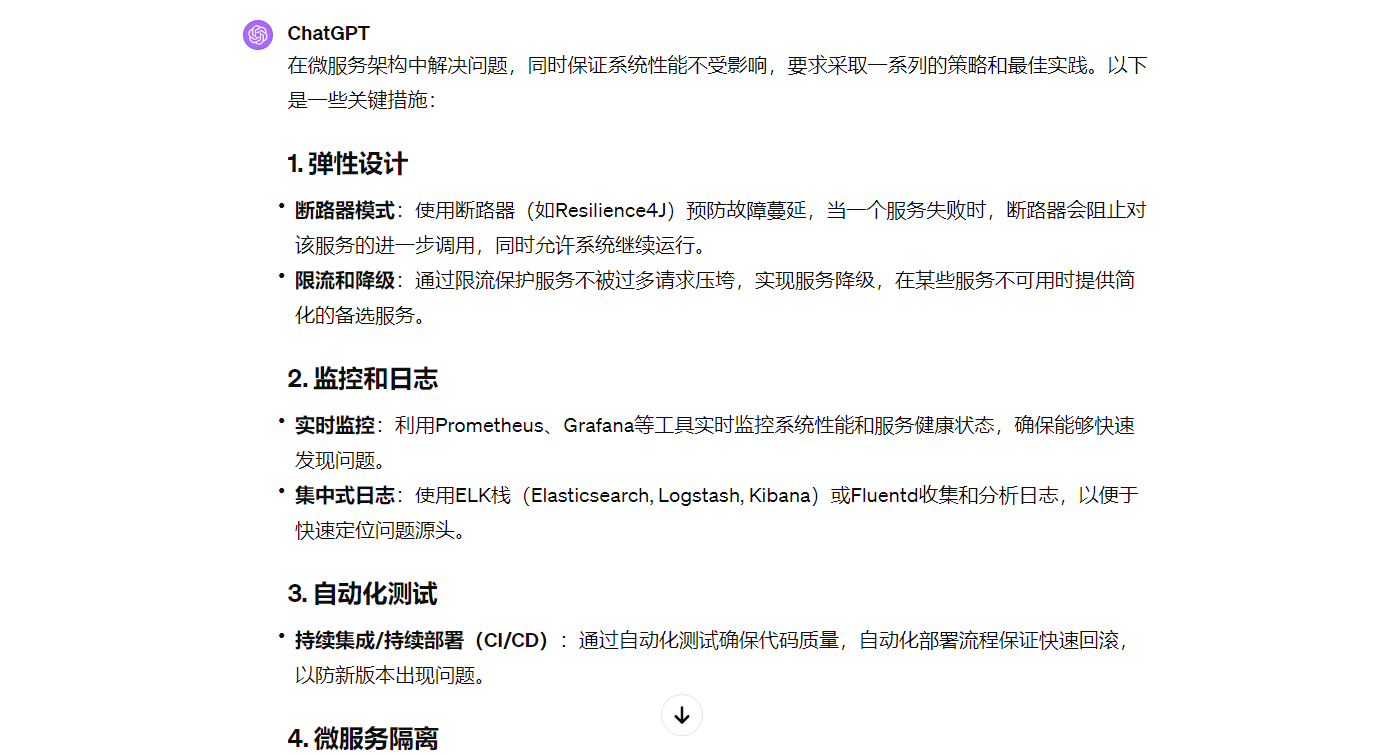
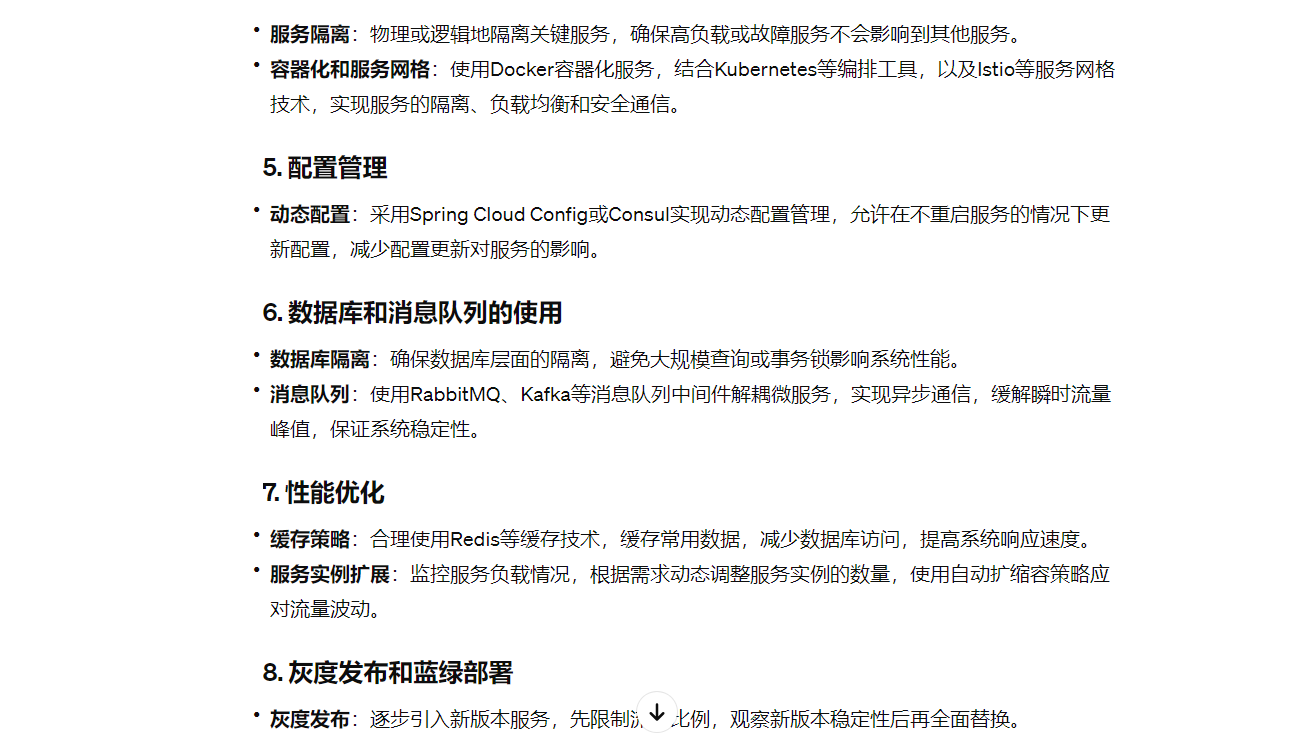
- 蓝绿部署:同时运行新旧两个版本的服务,通过负载均衡器控制流量切换到新版本,确保无缝切换。
通过这些策略和最佳实践,可以在出现问题时,快速定位并解决,同时确保系统整体性能和稳定性不受影响。重要的是,需要持续地监控系统表现,不断地优化架构和实现,以适应不断变化的业务需求和技术挑战。
# 9.以编写代码的形式出现

<dependency>
    <groupId>org.springframework.boot</groupId>
    <artifactId>spring-boot-starter-webflux</artifactId>
</dependency>
<dependency>
    <groupId>io.github.resilience4j</groupId>
    <artifactId>resilience4j-spring-boot2</artifactId>
    <version>1.7.0</version>
</dependency>
配置断路器(application.yml):
resilience4j.circuitbreaker:
  instances:
    backendA:
      registerHealthIndicator: true
      slidingWindowSize: 100
      minimumNumberOfCalls: 10
      permittedNumberOfCallsInHalfOpenState: 3
      automaticTransitionFromOpenToHalfOpenEnabled: true
      waitDurationInOpenState: 10s
      failureRateThreshold: 50
      eventConsumerBufferSize: 10
使用断路器保护服务调用:
@Service
public class BookService {
    private final CircuitBreakerRegistry circuitBreakerRegistry;

    @Autowired
    public BookService(CircuitBreakerRegistry circuitBreakerRegistry) {
        this.circuitBreakerRegistry = circuitBreakerRegistry;
    }

    public Mono<String> getBookDetails(String bookId) {
        CircuitBreaker circuitBreaker = circuitBreakerRegistry.circuitBreaker("backendA");
        return Mono.just(bookId)
                .transform(CircuitBreakerOperator.of(circuitBreaker))
                .flatMap(this::callBookService)
                .onErrorResume(throwable -> Mono.just("Fallback response"));
    }

    private Mono<String> callBookService(String bookId) {
        // Simulate a web service call to get book details
        return Mono.just("Book details for " + bookId);
    }
}
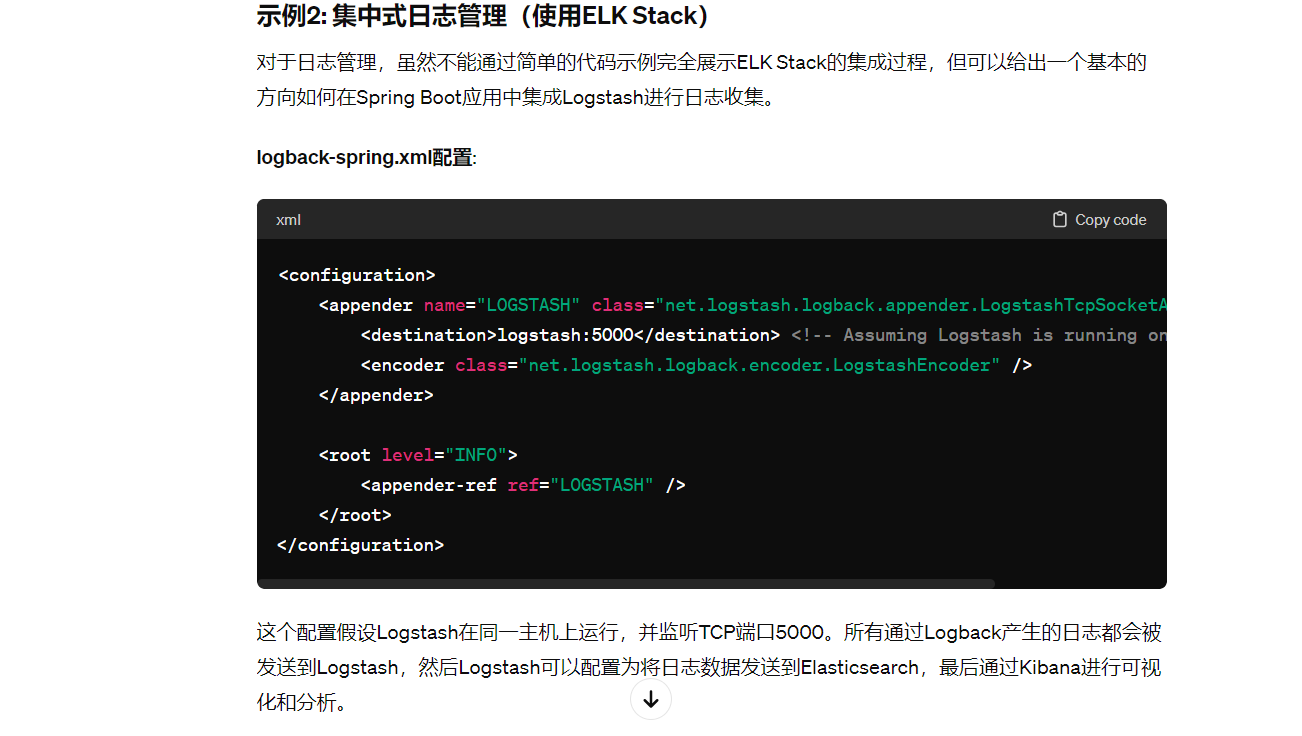
# 总结
通过这两个示例,我们可以看到在微服务架构中保证稳定性和性能的一些编码实践。断路器模式能有效防止系统雪崩,而集中式日志管理有助于快速定位和解决系统问题。这些策略和工具的应用需要结合实际项目需求和架构进行调整和优化。
5118 专属优惠码【D18BDE】 5118 https://www.5118.com?promote=D18BDE 海外软件充值渠道https://bewildcard.com/i/GPT321 更多精彩内容见https://www.ai-sora-chat.com